Thankfully, the days of hunting for (overpriced) SIM cards at airports are behind us, along with the nightmare of navigating to your accommodation without any internet connection, then spending the next day searching for a shop where you’d desperately mime to the sales clerk how much data you need and for how long, all while battling the language barrier.
When we look at the changes that have had the most positive impact on how we travel here at Streets and Summits over the past few years, the emergence and widespread adoption of eSIMs ranks rmemarkably high on that list. (If we’re talking negative impacts, the shrinking size of free carry-on luggage allowances takes first place: with slight exaggeration, you’ll soon need to pay a separate baggage fee for your passport…)
But what exactly is an eSIM? Let’s dive into a quick primer for those who might not have encountered them before! It’s a digital SIM card that handles your mobile connectivity just like its traditional physical counterpart, but since it doesn’t physically exist, you don’t need to go anywhere to purchase one. In practice, this means you can arrange internet connectivity for your destination before you even leave home, and you can call your Uber/Grab/local equivalent right after stepping off the plane.
Before eSIMs became widespread, our solution looked like this: several years ago, I bought a mobile 3G Wi-Fi hotspot that accepted traditional SIM cards. (This was actually great because my regular SIM could stay in my phone, making me reachable for emergencies while allowing multiple people to share the local data connection.) Then I’d research each country’s carriers well in advance, figuring out which ones sold SIM cards to travelers, how much they cost, where their stores were located, their opening hours, and so on. Best case scenario, there was something available at the airport (with massive snaking queues), less ideal was when they only sold special (and expensive) “Tourist SIMs,” and worst case meant entertaining yourself offline until reaching the city, or juggling the airport’s Wi-Fi to find that perfect position where you could see your arriving Uber while still maintaining a connection to the absolutely terrible free Wi-Fi.
Once you had the SIM, you’d hope it was the right size for your device, or like me, you’d carry a bunch of SIM adapters and wrestle with those. Eventually, in the best case (if the carrier allowed it), you’d manage to get the internet working, and all was joy and happiness until a few hours later when the modem’s battery died and you had to constantly charge it from a power bank. And I haven’t even mentioned those times when they sold us a SIM card in Colombia swearing it would work in Peru (spoiler: it didn’t), or when the 5 GB package in Georgia somehow turned out to be just 1 GB in the end. I could go on listing the endless hassles from our travels.
But after this somewhat lengthy introduction, let’s examine the pros and cons of eSIMs compared to other solutions!
eSIM vs. Traditional SIM vs. Roaming
Traditional Physical SIM Cards
There are still situations where a traditional card can be a good solution – and sometimes it’s the only option available.
Pros
- Often the cheapest solution, especially for longer periods (30+ days)
- You can select the best local carrier based on coverage or speed
- Works with any unlocked phone (even older models)
- Easily shareable via mobile hotspot (if the carrier allows it)
Cons
- Hassle to buy and insert into your phone (SIM ejector tool, etc.), and activation often involves some mystical process
- Language barriers can arise during purchase
- You need somewhere to store your regular everyday SIM card (if you have one), and you might lose it
- Airports frequently sell “Tourist SIMs” at inflated prices
- Much harder to access
Roaming
While we haven’t discussed it much yet, roaming definitely does exist: simply using your home SIM card during foreign travel.
Pros
- No setup required (at most, flipping a switch in your phone settings)
- Works immediately upon arrival
Cons
- Generally extremely expensive, starting at $10-15 per day
- Still provides very limited data
- Can easily lead to unpleasant surprises at home (like when I had to pay almost $100 after Australia without even using my home SIM. Long story…)
- Often provides reduced speeds
eSIM
Now let’s briefly summarize the most important advantages and disadvantages of eSIMs.
Pros
- Generally competitive pricing (in some places less than $1 per GB)
- Can be activated before travel, instant connectivity upon arrival
- No physical SIM card to lose
- Easy to switch (e.g., when changing countries)
- You can keep your home number (SIM card) too
- Usually cost-effective regional packages available
- Well-established, reliable companies specializing in this service
Cons
- Requires an eSIM-compatible device
- Usually data-only (can’t make traditional phone calls)
- Might not use the best network in the country
- Initial setup can be tricky the first time
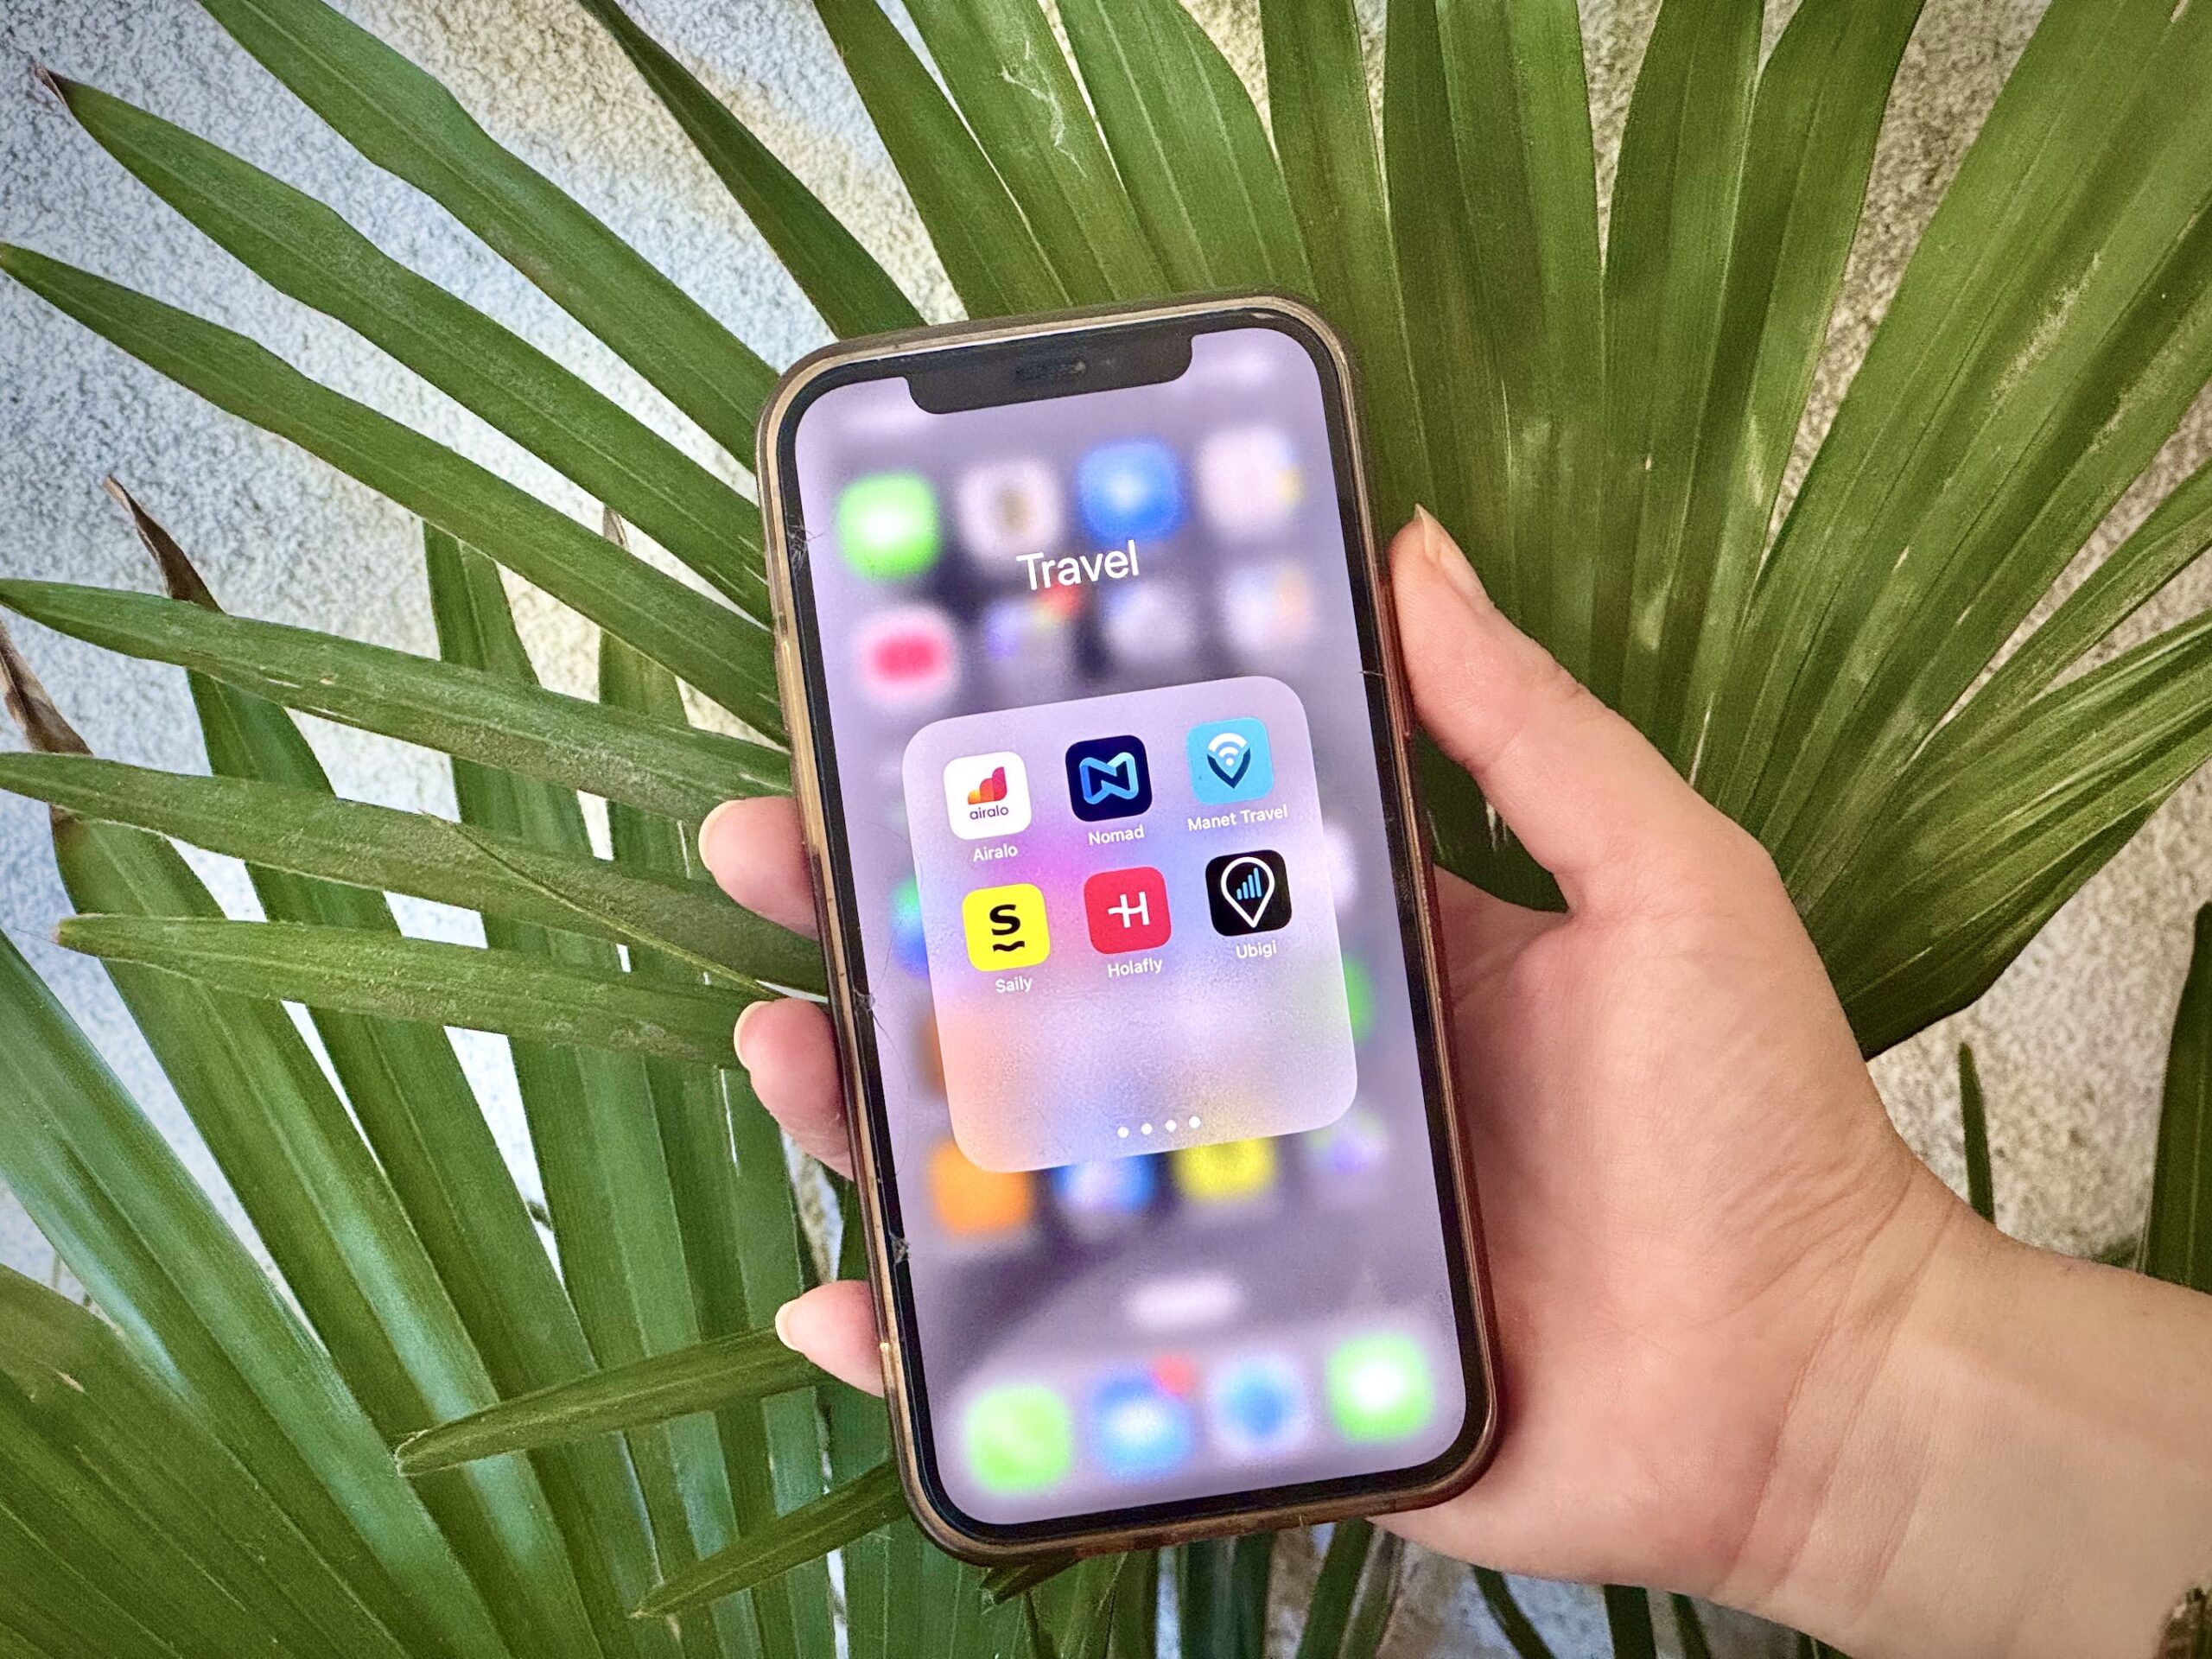
The Best eSIM Services for Travel
These days there’s an eSIM company on every corner (though most of them sell the same packages from the same major carriers), so finding your way as a newcomer to this world can be challenging.
That’s why we’ve compiled a list of services that we’ve either used during our travels or heard good things about.
1. Airalo – The “Grand Old One”
I believe Airalo was the first eSIM provider specifically designed for travel, or at least they were the first I heard about years ago. They’ve always been pretty strong in marketing too. With over 10 million users worldwide, I’ve used their eSIMs across multiple continents and many countries, Egypt being one of those. When issues arose, they were resolved relatively quickly (though 1-2 hours without internet upon arrival in a foreign country can be quite frustrating).
They offer both country-specific and regional eSIMs, their app is one of the easiest to use, and they have a loyalty program where you can collect credits to redeem later (warning: these expire over time). I think it’s a perfect choice for eSIM beginners, especially if the price is right for your current destination.
Special Streets and Summits offer!
New Customers can Save 15% on eSIMs at Airalo.com. Use Code: NEWTOAIRALO15 →
Existing Customers can Save 10% on eSIMs at Airalo.com. Use Code: AIRALOESIM10 →
Download the Airalo app and set up your account before traveling. Their in-app support is available 24/7, which can be a lifesaver if you encounter issues upon arrival.
2. Nomad – The Competitive Alternative
Nomad is our second most-used service during our travels. Their prices are fundamentally good (often better than Airalo’s), and I think they clearly display in the app what speeds each package offers (4G/5G). When I encountered problems (for example, online payments somehow didn’t work with their eSIM in Australia), after a quick chat with customer service, they simply refunded the price.
They also have a loyalty program similar to Airalo’s, and the app is very user-friendly and straightforward.
3. Manet – The Cost-Effective Solution
I discovered Manet eSIM about a year ago. This Italy-registered company didn’t catch my attention with an impressive website or super app, but with extremely favorable pricing. However, the saying “you get what you pay for” doesn’t apply here, as I’ve never had problems with their service (I used it the Dominican Republic and Moldova, among others), yet they almost always have the best deals.
As a downside, I’d mention that the purchase process and app aren’t as user-friendly as the big names, and there’s no loyalty program either, though the prices are great even without it. The main thing is the quality of the internet connection anyway, right?
4. Saily – The Newcomer with Big Backing
A brand new player in the market, launched in 2024. Despite this, it has quite a known background. Saily belongs to NordVPN’s portfolio, a name surely familiar to anyone who’s looked into VPNs (or watched travel YouTube videos in recent years). The prices are competitive but not necessarily the best if we’re only considering the internet connection itself.
Saily stands out from the crowd with some quite exciting features. With NordVPN’s background, you can set up more than 100 virtual locations for yourself, meaning you can access region-restricted content. They also include a built-in ad blocker, but perhaps the most convenient extra is that you only need to activate a single eSIM and can “swap” your future virtual cards on it, meaning you don’t have to suffer through the settings every time you change countries. The loyalty program is just icing on the cake.
If you’re already a NordVPN user, check if there are bundle deals available. Sometimes combining services can lead to significant savings.
5. Revolut eSIM – With Banking Integration
I’ve been an enthusiastic Revolut user for many years, and usually one of my Revolut cards is my primary payment method while traveling (in fact, I mostly rely on their included travel insurance), but I must confess I haven’t used their eSIM yet.
The reason is that prices have generally been quite high compared to other competitors. In return, it’s fully integrated into the app, the desired eSIM can be purchased with a few taps, and naturally, you can use your RevPoints for the transaction. However, I wouldn’t say it offers the best value for money.
I should mention that if someone happens to find the ultra-expensive Ultra package worthwhile, it includes 3 GB of free global data monthly via eSIM.
6. Holafly – The Unlimited Data Specialist
Holafly can be an excellent choice for longer trips or digital nomads, as they specialize in packages offering unlimited data. This is available in over 200 countries, and if we’re looking at unlimited data, the prices are quite friendly. (Warning: some packages limit speed after 3-5 GB of daily usage!)
The website and app are easy to use, and the most important information (including “fine print” details) is clearly displayed (such as connection speed in specific countries, network provider, or sharing capabilities). The longer the package you buy, the less it costs per unit, but for short-term use, this probably won’t be the most cost-effective solution.
Explore Holafly unlimited plans →
7. Ubigi – The Carrier-Backed Option
I only recently discovered Ubigi, despite it having quite an impressive pedigree: it’s a subsidiary of the world’s fourth-largest telecommunications company, Japan’s NTT. I haven’t personally tried their eSIMs yet, but based on their website, the company seems like a promising option, and the prices aren’t bad either. What’s exciting is they offer specifically monthly and even annual packages, making Ubigi eSIM a good choice for longer terms.
Some credit cards offer eSIM credits or discounts as travel perks. Check your card benefits before purchasing as you might have free data waiting to be claimed.
How to Choose the Right eSIM Service?
I could simply say compare prices and choose the cheapest, but it’s worth approaching this a bit more comprehensively.
For short trips (1-7 days), smaller packages with less data might be sufficient (depending on your usage, of course), but these are generally more expensive per GB. In such cases, you’ll probably visit just one country, so a simple single-country package will suffice.
For longer trips (2-4 weeks), there’s a chance you’ll visit multiple countries. In this case, it’s worth browsing regional packages from different companies, as a one-month regional package might easily be cheaper than buying separate eSIMs for two or three countries.
If you’re really traveling long-term (more than a month), Holafly and Ubigi might be your friends, as they specifically offer packages designed for such cases. Of course, if you’re staying in a specific country for months, it might be worth looking at local carrier offers, as you’ll almost certainly find better deals than what the major eSIM companies offer.
This can actually be worthwhile even short-term: in Australia, I ended up buying Optus’s “Travel SIM” product, which was not only better priced but also provided a proper Australian phone number that I could use for unlimited local calls and texts. Unfortunately, there are relatively few carriers worldwide with offers specifically designed for travelers that can be purchased entirely online without any paperwork.
How to Install and Activate an eSIM?
Once you’ve confirmed your phone supports eSIMs (every iPhone since the iPhone XS, every Samsung Galaxy since the Galaxy S20+, every Google Pixel since the Pixel 3, and basically every flagship phone since 2020), and you’ve decided to make a purchase, the next step is eSIM activation.
Installation
The process is roughly the same for all services, but there are three main methods (most companies offer all three simultaneously). Very important: you need some form of active internet connection for installation (e.g., Wi-Fi)!
1. Installing eSIM from the App
This is the simplest method, and I definitely recommend it for beginners. Fortunately, it’s available from most major companies (e.g., Airalo, Nomad, Saily, etc.). In this case, after purchasing the eSIM, you select it in the app, press the install button, and depending on your operating system, it’s installed after a few taps.
2. Installing eSIM via QR Code
This is the second most convenient solution, but it assumes you have two separate devices or have printed the QR code. In your device settings, navigate to the add eSIM menu (on iPhone: Settings → Cellular → Add eSIM), then select the scan QR code option. After scanning the code, the eSIM installs.
3. Manual eSIM Installation
This is the most cumbersome solution, but sometimes there’s no other option. For companies that don’t offer app-based installation, and if you only have one device nearby without a printer, manual installation is the way (I’ve done this several times with Manet, for example).
It’s very similar to the QR code method (on iPhone), but when you would scan the code, select “Enter Details Manually” option. You need to enter the data in the appearing fields, which the company usually sends via email along with the QR code. With Manet, it’s particularly tricky because they’ll send something like this for manual installation: “LPA:1$smdp.io$XX-XXXXXX-XXXXXX”. If you receive this from them or others, the part between the dollar signs is the “SM-DP+ Address” (in the example, “smdp.io”), and everything after the second dollar sign is the “Activation Code” (in the example, “XX-XXXXXX-XXXXXX”).
Take a screenshot of your QR code and installation details before traveling. If you need to reinstall for any reason, you’ll have everything readily available offline.
Activation
Installation doesn’t mean your eSIM will be active in most cases. Activation practically means that the eSIM connects to the network in the country you purchased it for. This is important because this is when the duration you purchased the eSIM for starts counting (e.g., 30 days). This also means it’s worth installing at home (especially since you need an internet connection), turning it on, and it will nicely activate when you arrive in your destination country and take your phone out of airplane mode.
Depending on your phone type, the exact location varies, but it’s definitely worth turning off roaming (if it was on) and data for your home SIM card to avoid unpleasant surprises. Set the default data SIM to your eSIM. (On iPhone, this is in Settings → Cellular → Cellular Data.)
After activating and starting to use the eSIM, you can leave your home SIM turned on, so family or friends can still reach you on your regular number if needed.
Bottom Line: Why eSIMs Are Worth It
After testing eSIMs across multiple continents and comparing costs with traditional options, the convenience factor alone justifies the slight premium over local SIMs. For most travelers, eSIMs offer the perfect balance of convenience, cost, and coverage.
Our recommendation hierarchy:
- For most travelers: Start with Airalo or Nomad for reliability, coverage, and ease of use
- For budget-conscious trips: Compare Nomad’s pricing and Manet’s competitive rates
- For heavy data users: Consider Holafly’s unlimited plans (check fair usage policies)
- For privacy-conscious travelers: Saily offers built-in security features
- If pricing is the most important: In most cases Manet is the best option
- For Revolut customers: Integrate with your travel banking for seamless billing, and if you have some RevPoints you wouldn’t spend elsewhere
- For premium experience: Ubigi for best network access and carrier partnerships